
Taking a few "pins" as inspiration (see here, here, here and here) I made our kiddos a felt Christmas Tree for them to decorate and re-decorate throughout the Holiday season. As I was thinking through this project I realized I could incorporate my desire to do a daily "Advent" activity with the kids every day in December, leading up to Christmas, with this fun little tree! I had read (again, via Pinterest) that my favorite children's bible, The Jesus Storybook Bible, had 21 stories leading up to the story of Jesus' birth and 3 stories about that momentous event... 21+3=24! Perfect for an advent story each night. So we incorporated a new tradition this year at the Kidder house - a nightly story as a family and new ornament for our little kid-frendly tree.
Curious how it turned out?


Isn't she cute? Definitely not perfect, but I had so much fun putting this together - I love it anyway!
Here are some close ups of the ornaments:

Most of the ornaments were random fun shapes that didn't coordinate with our nightly stories but these (and one of the stars) did- The cross was put up the night we read about Abraham's willingness to sacrifice his son Isaac. The manger, on the night we read about Jesus' birth. (A star, the night we read about the Shepherds hearing the good news about Messiah's arrival) And the crown the last night we read about the visit from the Wise Men. (Also special for our family - Lucy made sure the crown went on the very top of the tree because our tree topper is a crown! :) )

All of the ornaments were made of two layers of felt - I bought pretty cheep felt and wanted them to be sturdy. I had fun embroidering the ornaments!

I decorated some of the ornaments with glitter! Who doesn't love a little sparkle around the holidays?!

I loved the way these ones turned out! I used our big set of cookie cutters as a "stencil" for most of the ornaments - some (like the manger) I free-handed.

I have plenty of leftover felt to make new ornaments for future little-ones (I'd happily move one of the white circles with cut-outs to the real tree! :) )
As for the tree, I bought a yard of extra-long felt at JoAnn's, folded it in half twice (short ways to make the tree double thick and long ways so I could try to make it symmetrical) and lightly traced with a sharpie a "Christmas tree" shape - Brad will tell you... this was the hardest part for me.... I may have cried because I thought I ruined it. But it all ended well. haha!
In order to attach the tree to the wall, I sewed some (4) "Loops" onto the back of the tree (before I sewed the two layers together).

See the ribbon "Loop?"

That way I could attach a 3M hook to the wall and hang it up easily! I sewed the two layers together and the tree was done!

See?!
And because I NEEDED a way to display and organize the ornaments while they were waiting to be put on the tree, I made a little garland - You know me... I love banners, garlands and anything I can hang with a swag! :)

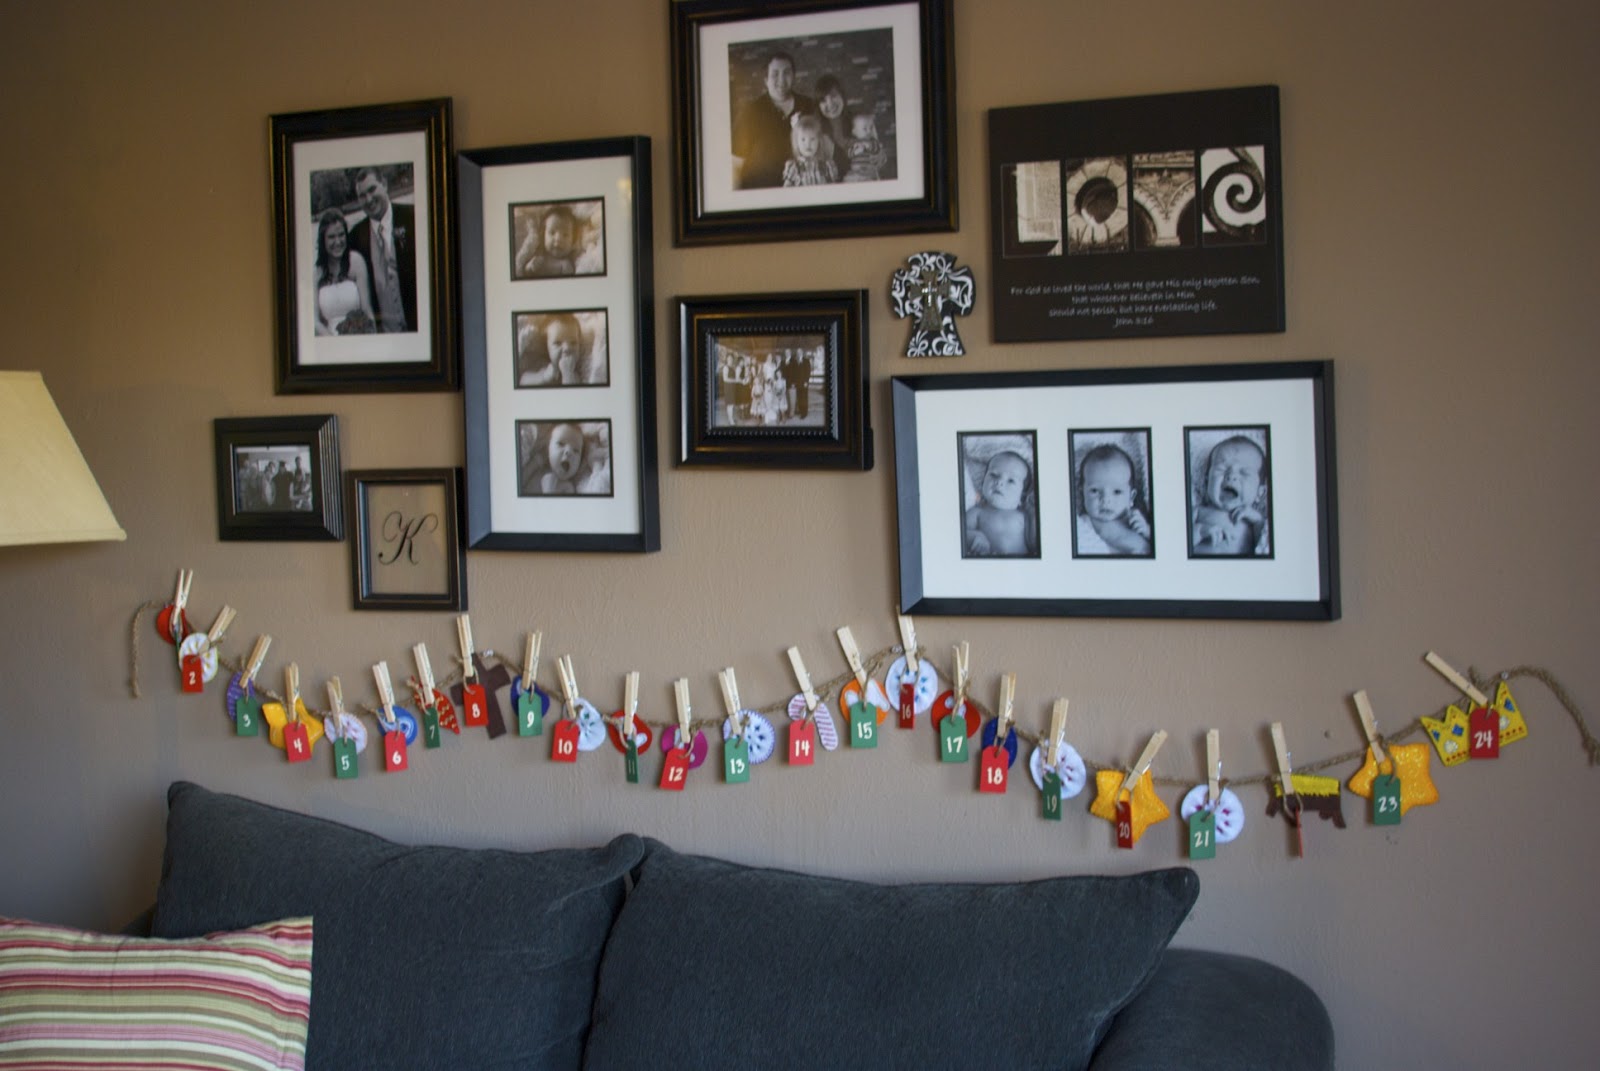
I bought inexpensive wooden tags, paint and stickers and made little numbered tags for each ornament.

Isn't it fun?! :) I am SO looking forward to continuing this tradition in the years to come! We had a great time reading as a family and personally - I found my heart was more focused on the "reason for the season" when I was reminded about it daily.

Here's our real (fake) 2012 tree! This is the first year that our tree has seen the same house two years in a row! Do you see the crown on the top? :) Next year's holiday craft NEEDS to be a tree skirt!
Ok, so I know that it is March, almost Spring... almost Easter - but tell me about your family's Christmas holiday traditions! :)
1 comment:
Precious!!
Post a Comment