
Both of the kids needed hair cuts this spring and I didn't really want to spend $24 (for both kids) to get them done at a salon. So I did it myself!
First up was Lucy:

Before - this was taken Valentine's day. When her hair was down it was hitting her mid-back! It grows so fast!

Before - I'm pretty sure that my daughter could have curly hair - it's pretty wavy back there!

After - Just below her shoulders, a little shorter than I anticipated but it turned out well! (I cut her hair wet and as it dried it shrunk up - very normal... I just forgot about that when I was cutting it)
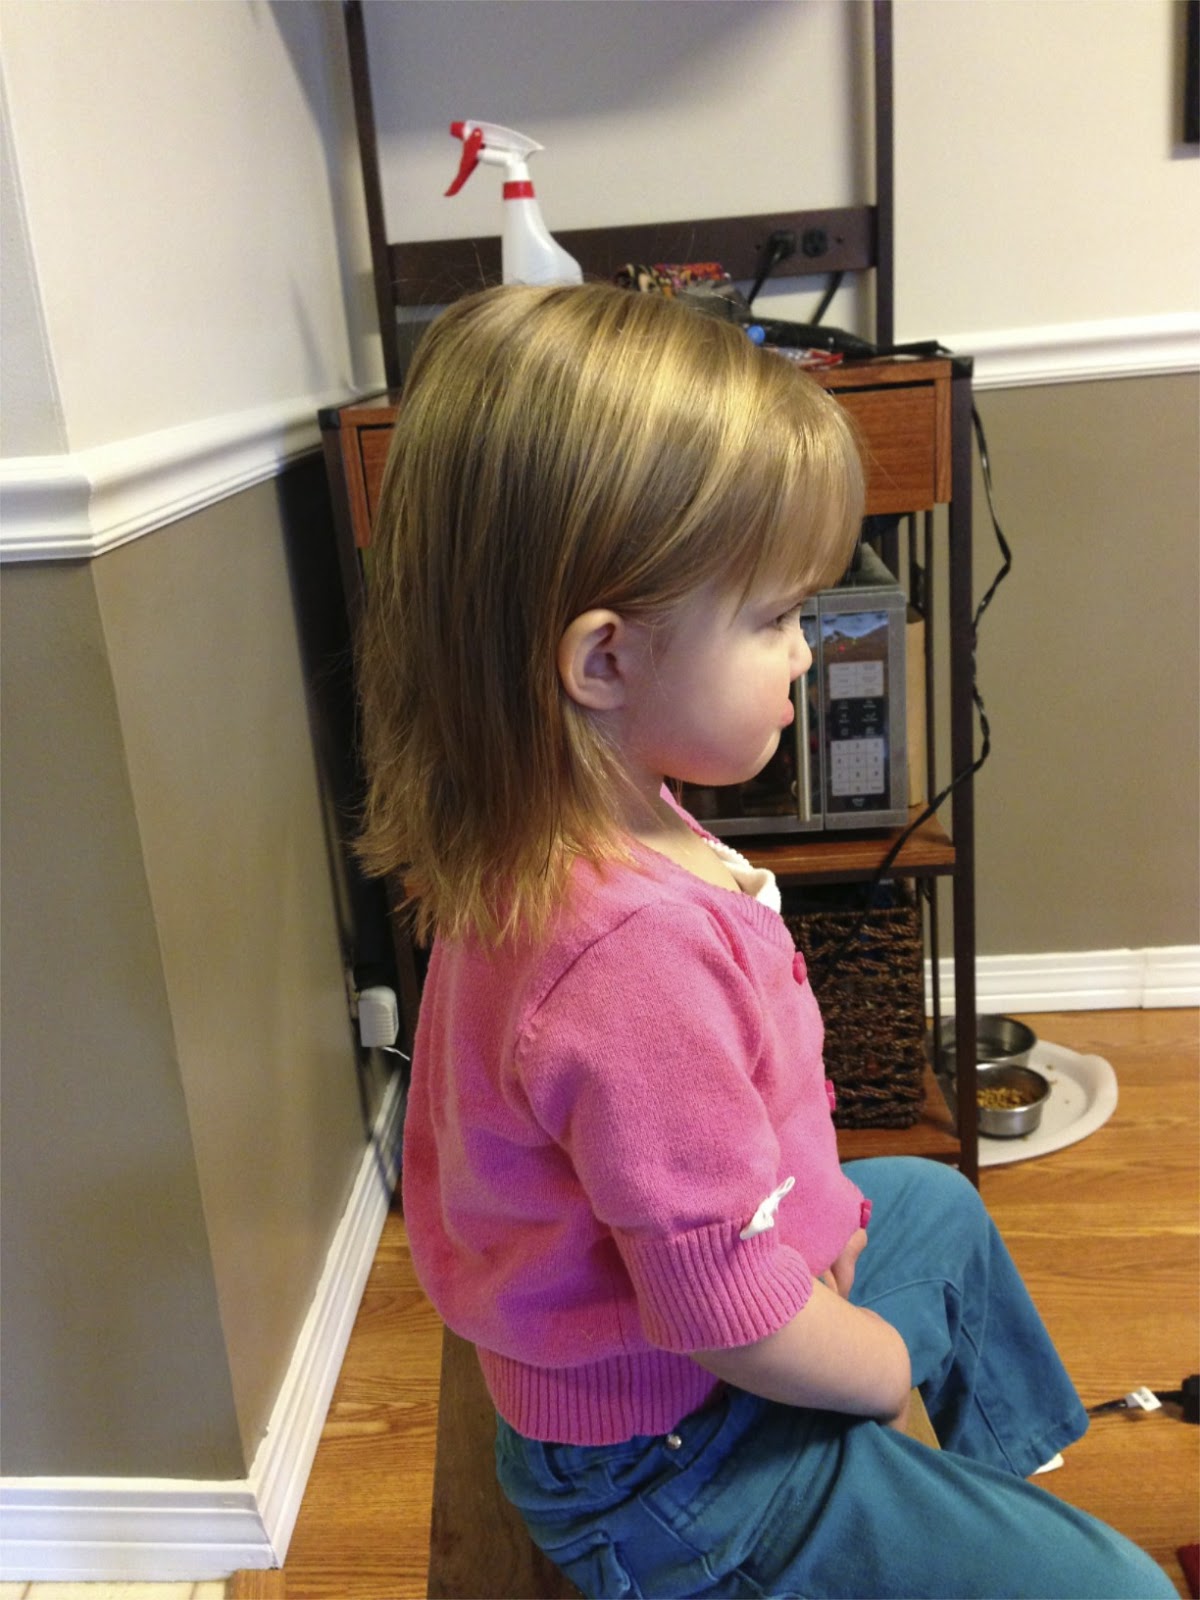
After - a side view.

A trip to Mommy's Beauty Parlor wouldn't be complete without a fresh manicure. :)

All done!
Next up was Michael boy! He hadn't had a haircut yet - so it was pretty crazy.

(Cell phone picture) Before - It was long in the back and would even form 3 or 4 ringlets at times!

(Cell Phone Picture) Before - it was long and uneven in the front.

Before - it was crazy! :)

During - You can see my trick here, utilize technology to encourage kids to look in one direction (it was working really well - but Daddy coming over to take a picture distracted Michael for a minute). :) I had read a few tutorials online and watched 1/2 of a video on YouTube (I didn't watch the entire thing because the lady's voice was a bit annoying). It was nice to know his hair would grow back even if I made a mistake. :)
A friend asked me on FB to pass on my notes about what I learned when cutting his hair - so I thought I'd post them here too (just in case I need to reference them next time he needs a trim). :)
"Well, as far as mistakes go: I cut off more from his neck than I wanted to - I accidentally cut one side shorter and then to correct the accident had to chop off the other side too.... I think his bangs will improve as his hair gets thicker. And when to side burns come in? I'm ready for him to have them! He looks like Frier Tuck to me at times. Haha!
As for the method: I wet his hair, combed all hair on the crown forward and the rest down (toward his shoulders). Next time I will trim his neck to the length I want before trimming the sides. Using the comb to "grab" the hair, I took vertical chunks about an inch thick from the sides and back and cut the hair one finger away from his head. (I "Pinched" the hair with my pointer and middle fingers and cut by my knuckles). For his bangs I knew I wanted to cut an inch off, so standing behind him I combed his bangs straight out "Pinched" with my fingers and cut about an inch off. I checked the length to make sure it was ok, I then lifted the hair on the crown vertically straight up and trimmed the ends even with the bangs I had just cut."
As for the method: I wet his hair, combed all hair on the crown forward and the rest down (toward his shoulders). Next time I will trim his neck to the length I want before trimming the sides. Using the comb to "grab" the hair, I took vertical chunks about an inch thick from the sides and back and cut the hair one finger away from his head. (I "Pinched" the hair with my pointer and middle fingers and cut by my knuckles). For his bangs I knew I wanted to cut an inch off, so standing behind him I combed his bangs straight out "Pinched" with my fingers and cut about an inch off. I checked the length to make sure it was ok, I then lifted the hair on the crown vertically straight up and trimmed the ends even with the bangs I had just cut."

After - ALL DONE! No more ringlets - but he looks like a little man now! :)

After - I want to improve on the sides next time, and i cut it a little too short in the back - but for my first boy-haircut I was pleased. :)

Michael was pleased to not be strapped into his seat anymore! :)
So after I cut the kids hair I had a thought, "Why don't I trust myself to cut my bangs? I might as well try it!" It costs about $10 for me to get a bang trim and I have to get them ever 4-6 wks if I want my bangs to be "workable." That quickly adds up! In the hopes of keeping my $10 I tried it...

And it worked too! :) I was very pleased with how it went. I cut it dry (I didn't want the bangs shrinking up like Lucy's hair did) and went slowly. Brushing a lot in between cuts and playing with how the bangs laid. I did it during a time when Brad was home so that he could watch the kids and i didn't have them underfoot (possibly the best idea - I don't think I could have done it if they were in the same room with me). :)
Do you DIY haircuts at your house? I've saved $34 so far! :)
No comments:
Post a Comment